
2017电赛国赛滚球控制系统摄像头部分(精度误差0.5cm左右)
发布于2019-08-06 11:19 阅读(1231) 评论(0) 点赞(3) 收藏(2)
import cv2
import math
import numpy as np

def ban_detect(contours):
    for cnt in range(len(contours)):
        arcLength = cv2.arcLength(contours[cnt], True)
        if arcLength > 1000:
            approx = cv2.approxPolyDP(contours[cnt], arcLength * 0.02, 1)
            cv2.polylines(image, [approx], True, (0, 0, 255), 2)
            mm = cv2.moments(approx)
            cx = int(mm['m10'] / mm['m00'])
            cy = int(mm['m01'] / mm['m00'])
            cv2.circle(image, (cx, cy), 3, (0, 0, 255), -1)
            print("板的中心坐标是 (%d,%d)" % (np.int(cx), np.int(cy)))
            # cv2.drawContours(image, contours, cnt, (0, 255, 0), 2)


def ball_detect(contours):  # 漏油点定位
    arclengthMin = 100
    arclengthMax = 300
    squareMin = 600
    squareMax = 1000

    point_flag = False
    for cnt in range(len(contours)):
        square = cv2.contourArea(contours[cnt])
        arcLength = cv2.arcLength(contours[cnt], True)
        # print(square, arcLength)
        epsilon = 0.01 * arcLength  # 轮廓逼近,主要是对闭合轮廓进行检测,即水管的漏油点
        approx = cv2.approxPolyDP(contours[cnt], epsilon, True)  # 进行图像拟合
        corners = len(approx)  # 分析几何形状,如果图像的角大于10即为圆形
        if corners > 10 and arcLength > arclengthMin and arcLength < arclengthMax and square > squareMin and square < squareMax:
            rrt = cv2.fitEllipse(contours[cnt])  # 椭圆拟合
            cv2.ellipse(image, rrt, (0, 0, 255), 2, cv2.LINE_AA)  # 画出拟合椭圆
            x, y = rrt[0]  # 求出椭圆中心
            print("球的坐标是 (%d,%d)" % (np.int(x), np.int(y)))
            cv2.circle(image, (np.int(x), np.int(y)), 4, (255, 0, 0), -1, 8, 0)  # 画出椭圆中心
            point_flag = True
    return point_flag

def blurred_image(binary):
    blurred = cv2.GaussianBlur(binary, (3, 3), 0)  # 滤波处理
    # cv2.imshow("blurred",blurred)     #显示滤波图像
    kernel = cv2.getStructuringElement(cv2.MORPH_RECT, (7, 7))
    closed = cv2.morphologyEx(blurred, cv2.MORPH_CLOSE, kernel)
    # cv2.imshow("closed",closed)
    # 所得图像仍有许多白点,通过腐蚀和膨胀去除白点,最后一个参数是腐蚀的次数
    closed = cv2.erode(closed, None, iterations=6)
    # cv2.imshow("closed1",closed)
    closed = cv2.dilate(closed, None, iterations=6)
    # cv2.imshow("closed2", closed)
    ret, binary = cv2.threshold(closed, 250, 255, cv2.THRESH_BINARY)  # 二值化
    # cv2.imshow("binary", binary)
    edges = cv2.Canny(binary, 50, 120)  # 使用Canny进行轮廓检测
    # cv2.imshow("Canny",edges)
    return edges


def Camera_analysis(image):
    gray = cv2.cvtColor(image, cv2.COLOR_BGR2GRAY)
    # cv2.imshow("gray",gray)
    ret, binary = cv2.threshold(gray, 130, 255, cv2.THRESH_BINARY)  # 二值化,板
    ret, binary1 = cv2.threshold(gray, 30, 255, cv2.THRESH_BINARY)  # 二值化,球
    edges1 = blurred_image(binary)
    edges2 = blurred_image(binary1)
    contours1, hierarchy1 = cv2.findContours(edges1, cv2.RETR_EXTERNAL, cv2.CHAIN_APPROX_SIMPLE)  # 对轮廓图进行边缘检测
    contours2, hierarchy2 = cv2.findContours(edges2, cv2.RETR_EXTERNAL, cv2.CHAIN_APPROX_SIMPLE)  # 对轮廓图进行边缘检测
    ban_detect(contours1)
    ball_detect(contours2)


if __name__ == "__main__":
    image = cv2.imread("./image/ban2.jpg")
    Camera_analysis(image)
    cv2.imshow("image", image)
    cv2.waitKey(0)
    cv2.destroyAllWindows()
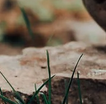
通过该代码可以确定板的中心与球的位置
经过一系列数学分析和线性求解,以板的左上角建立直角坐标系,可以准确确定球的位置,单位是厘米,存在些许误差但是影响不大,代码如下
import cv2
import math
import numpy as np


def pt_line_distance(ball_x, ball_y, k, b):
    distance = abs((k * ball_x - ball_y + b) / math.sqrt(k * k + 1))
    # print(distance)
    return distance


def get_line(point1, point2):  # 求直线方程 y = kx + b
    k = (point1[1] - point2[1]) / (point1[0] - point2[0])
    b = point1[1] - k * point1[0]
    return k, b


def ban_detect(contours):
    for cnt in range(len(contours)):
        arcLength = cv2.arcLength(contours[cnt], True)
        if arcLength > 1000:
            approx = cv2.approxPolyDP(contours[cnt], arcLength * 0.02, 1)
            # print(approx)
            # cv2.polylines(image, [approx], True, (0, 0, 255), 2)
            # 求板子的中心
            mm = cv2.moments(approx)
            cx = int(mm['m10'] / mm['m00'])
            cy = int(mm['m01'] / mm['m00'])
            cv2.circle(image, (cx, cy), 3, (0, 0, 255), -1)
            # print("板的图像中心坐标是 (%d,%d)" % (np.int(cx), np.int(cy)))
            k1, b1 = get_line(approx[1][0], approx[0][0])
            k2, b2 = get_line(approx[1][0], approx[2][0])
            return k1, b1, k2, b2
            # print(k1, b1, k2, b2)
            # 求板的顶点坐标
            # for app in range(len(approx)):
            #     x = approx[app][0][0]
            #     y = approx[app][0][1]
            #     cv2.circle(image, (x,y), 3, (0, 0, 255), -1)
            #     cv2.putText(image, 'num:%d' % (app), (x + 30, y + 30), cv2.FONT_HERSHEY_SIMPLEX, 1, (255, 0, 255), 4)


def ball_detect(contours):  # 漏油点定位
    arclengthMin = 80
    arclengthMax = 100
    squareMin = 500
    squareMax = 700

    for cnt in range(len(contours)):
        square = cv2.contourArea(contours[cnt])
        arcLength = cv2.arcLength(contours[cnt], True)
        # print(square, arcLength)
        epsilon = 0.01 * arcLength  # 轮廓逼近,主要是对闭合轮廓进行检测,即水管的漏油点
        approx = cv2.approxPolyDP(contours[cnt], epsilon, True)  # 进行图像拟合
        corners = len(approx)  # 分析几何形状,如果图像的角大于10即为圆形
        if corners > 10 and arcLength > arclengthMin and arcLength < arclengthMax and square > squareMin and square < squareMax:
            rrt = cv2.fitEllipse(contours[cnt])  # 椭圆拟合
            cv2.ellipse(image, rrt, (0, 0, 255), 2, cv2.LINE_AA)  # 画出拟合椭圆
            x, y = rrt[0]  # 求出椭圆中心
            # print("球的图像坐标是 (%d,%d)" % (np.int(x), np.int(y)))
            cv2.circle(image, (np.int(x), np.int(y)), 4, (255, 0, 0), -1, 8, 0)  # 画出椭圆中心
            return (np.int(x), np.int(y))


def blurred_image(binary):
    blurred = cv2.GaussianBlur(binary, (3, 3), 0)  # 滤波处理
    kernel = cv2.getStructuringElement(cv2.MORPH_RECT, (7, 7))
    closed = cv2.morphologyEx(blurred, cv2.MORPH_CLOSE, kernel)
    # 所得图像仍有许多白点,通过腐蚀和膨胀去除白点,最后一个参数是腐蚀的次数
    closed = cv2.erode(closed, None, iterations=6)
    closed = cv2.dilate(closed, None, iterations=6)
    ret, binary = cv2.threshold(closed, 250, 255, cv2.THRESH_BINARY)  # 二值化
    edges = cv2.Canny(binary, 50, 120)  # 使用Canny进行轮廓检测
    return edges


def Camera_analysis(image):
    gray = cv2.cvtColor(image, cv2.COLOR_BGR2GRAY)
    # cv2.imshow("gray",gray)
    ret, binary1 = cv2.threshold(gray, 130, 255, cv2.THRESH_BINARY)  # 二值化,板
    ret, binary2 = cv2.threshold(gray, 30, 255, cv2.THRESH_BINARY)  # 二值化,球
    edges1 = blurred_image(binary1)
    edges2 = blurred_image(binary2)
    contours1, hierarchy1 = cv2.findContours(edges1, cv2.RETR_EXTERNAL, cv2.CHAIN_APPROX_SIMPLE)  # 对轮廓图进行边缘检测
    contours2, hierarchy2 = cv2.findContours(edges2, cv2.RETR_EXTERNAL, cv2.CHAIN_APPROX_SIMPLE)  # 对轮廓图进行边缘检测
    k1, b1, k2, b2 = ban_detect(contours1)
    ball_x, ball_y = ball_detect(contours2)
    y = int((pt_line_distance(ball_x, ball_y, k1, b1))/6.6451)
    x = int((pt_line_distance(ball_x, ball_y, k2, b2))/6.0923)
    # print(k1, b1, k2, b2)
    # 以板的左上角为坐标原点建立直角坐标系
    print("球在板上的坐标为 (%d,%d)"%(x,y))
    # print(ball_x,ball_y)


if __name__ == "__main__":
    image = cv2.imread("./image/ban4.jpg")
    Camera_analysis(image)
    cv2.imshow("image", image)
    cv2.waitKey(0)
    cv2.destroyAllWindows()

# if __name__ == "__main__":
#     # 初始化摄像头
#     cameraCapture = cv2.VideoCapture('http://192.168.12.1:8080/?action=stream')  # 树莓派地址
#     # cameraCapture = cv2.VideoCapture(0)
#     while True:
#         # 获取当前帧
#         ret, image = cameraCapture.read()
#         Camera_analysis(image)
#         cv2.imshow("frame", image)
#         if cv2.waitKey(1) & 0xFF == ord('q'):
#             break
#     cameraCapture.release()
#     cv2.destroyAllWindows()
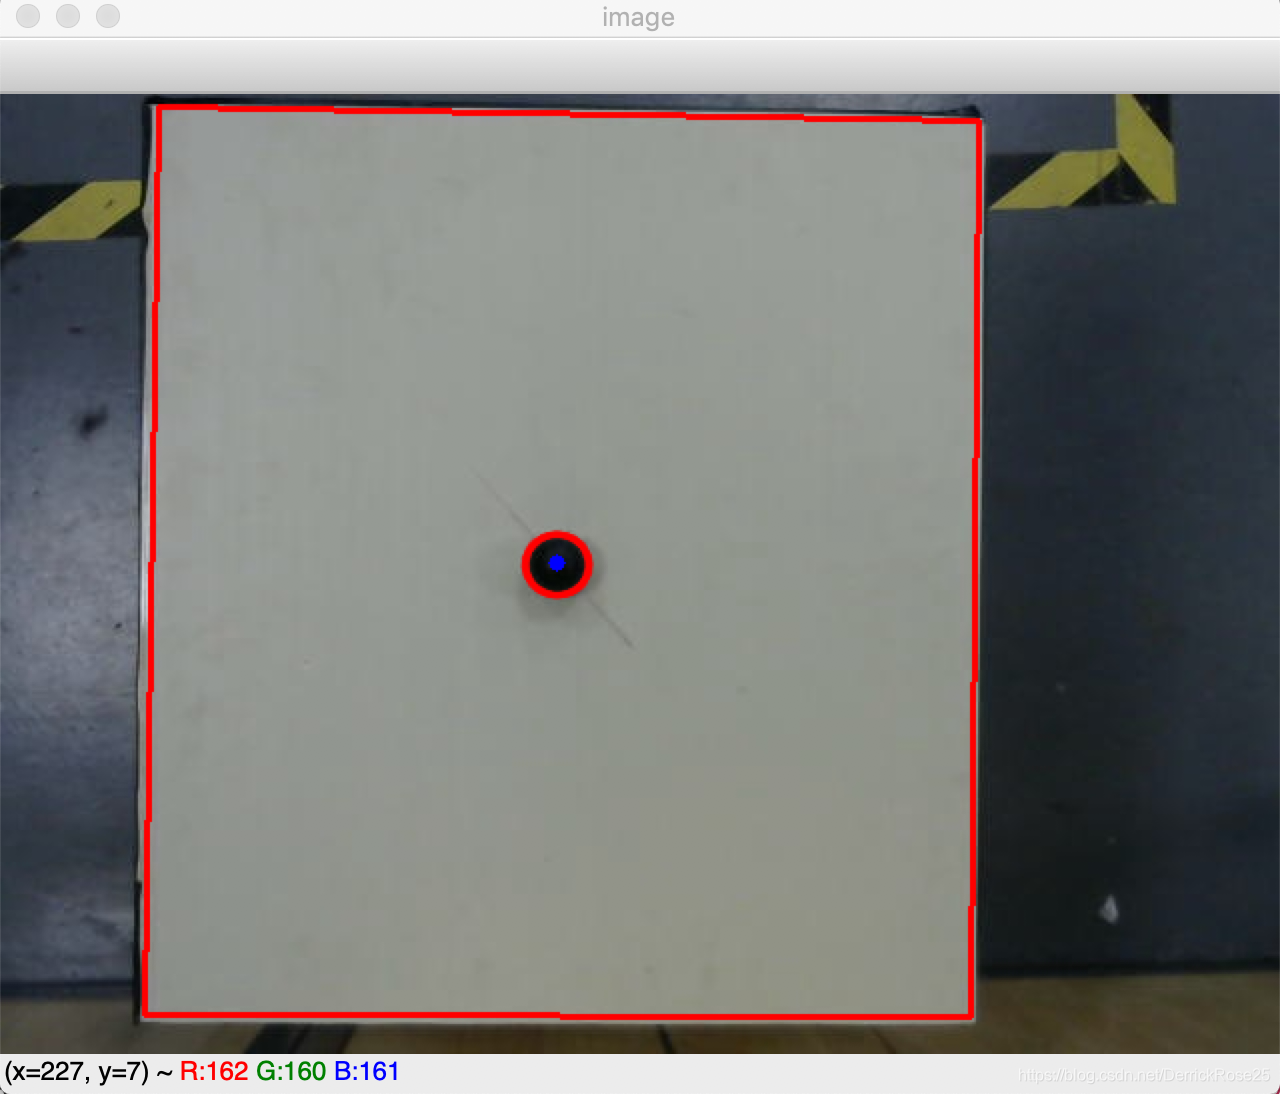
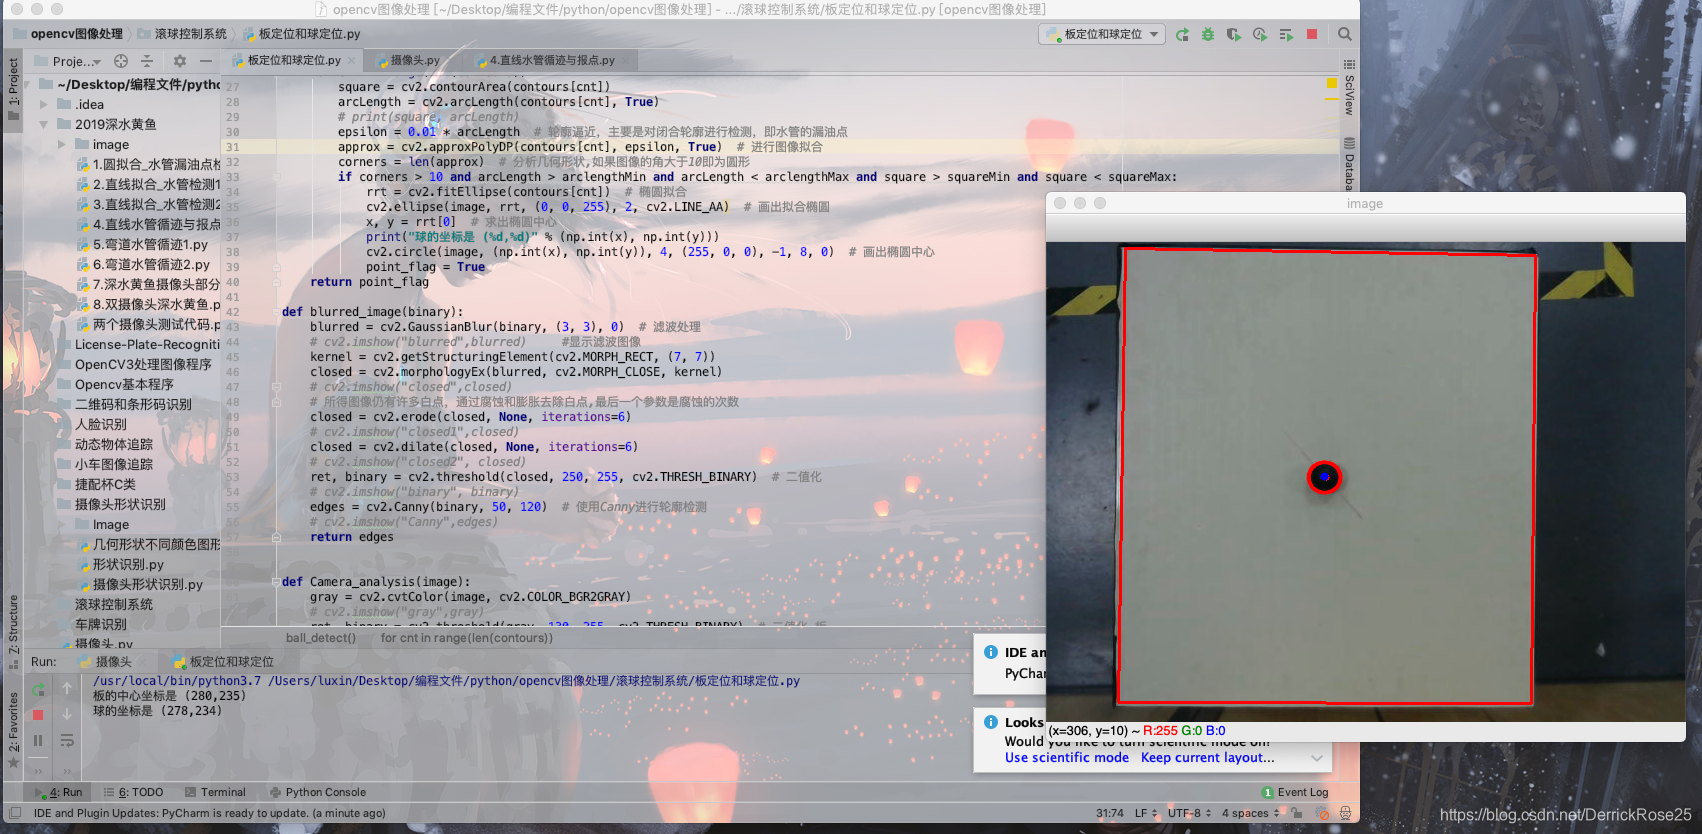
效果:
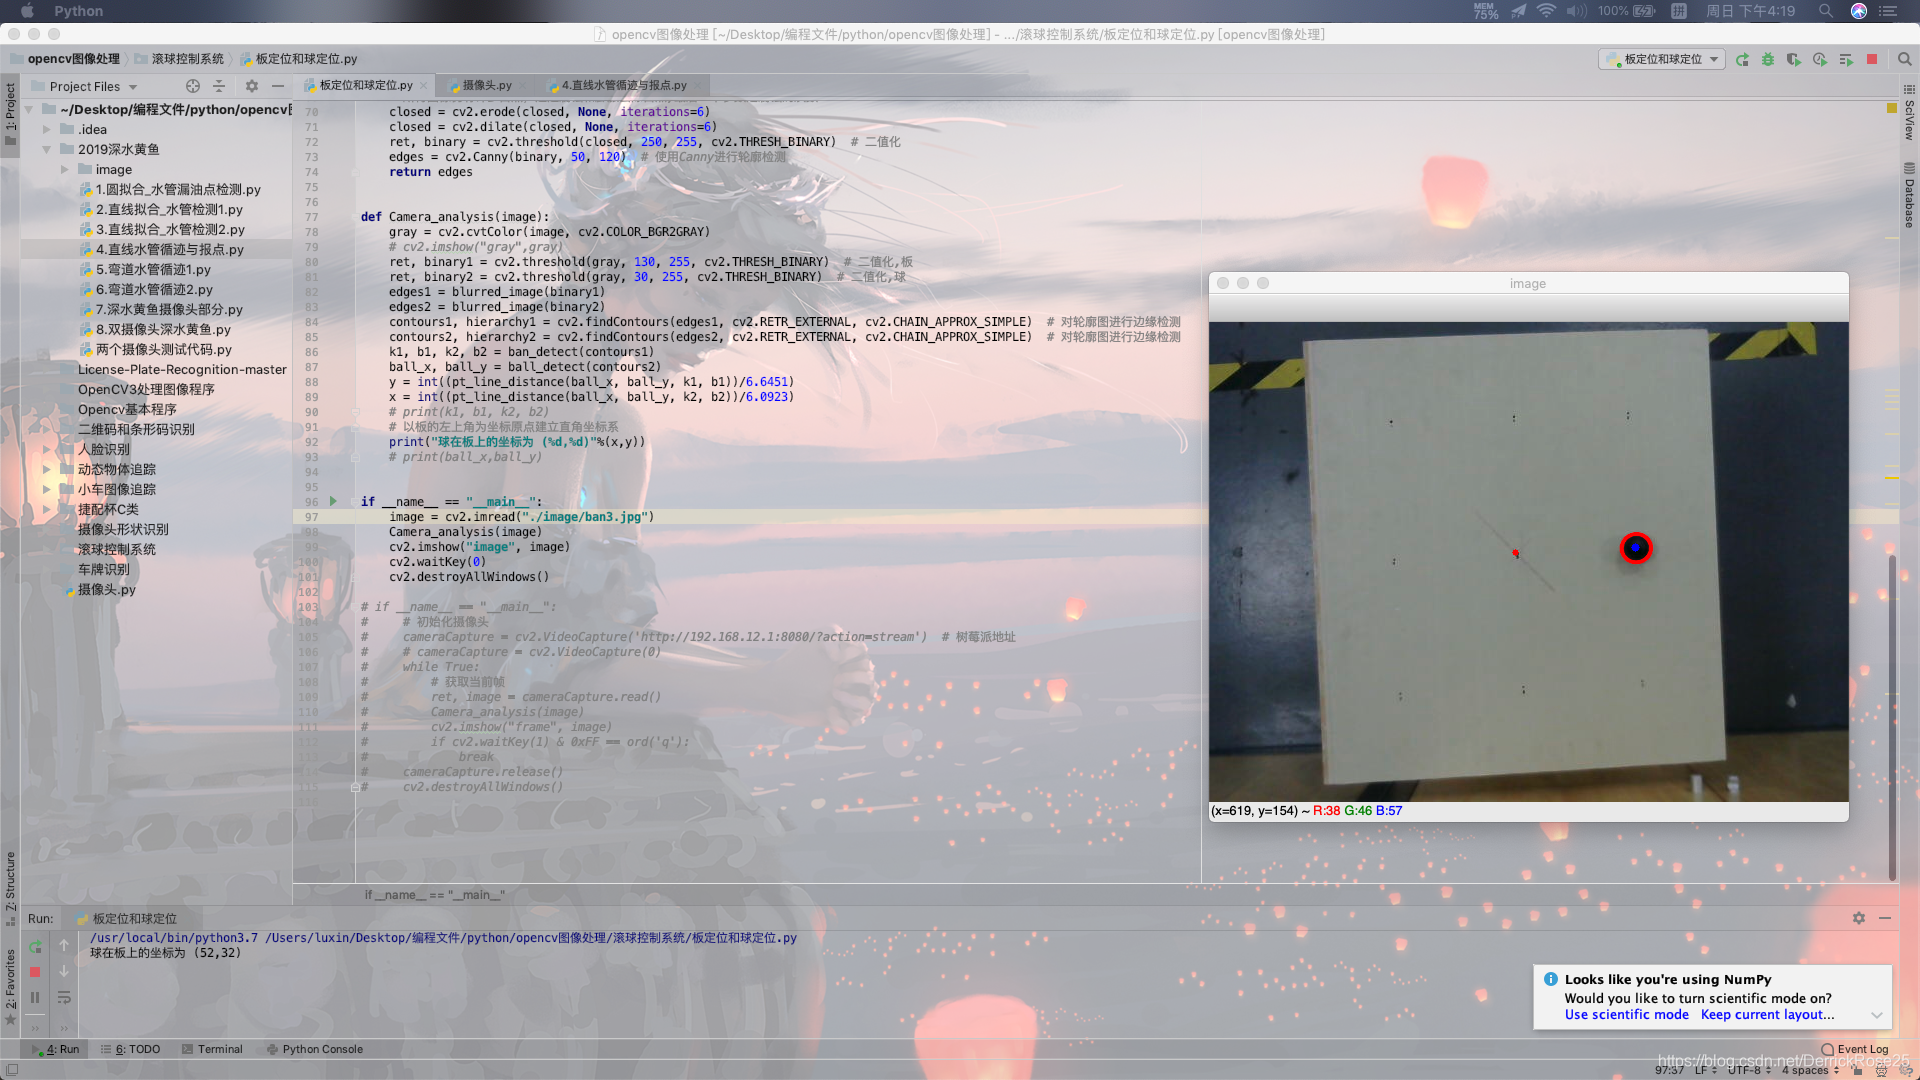
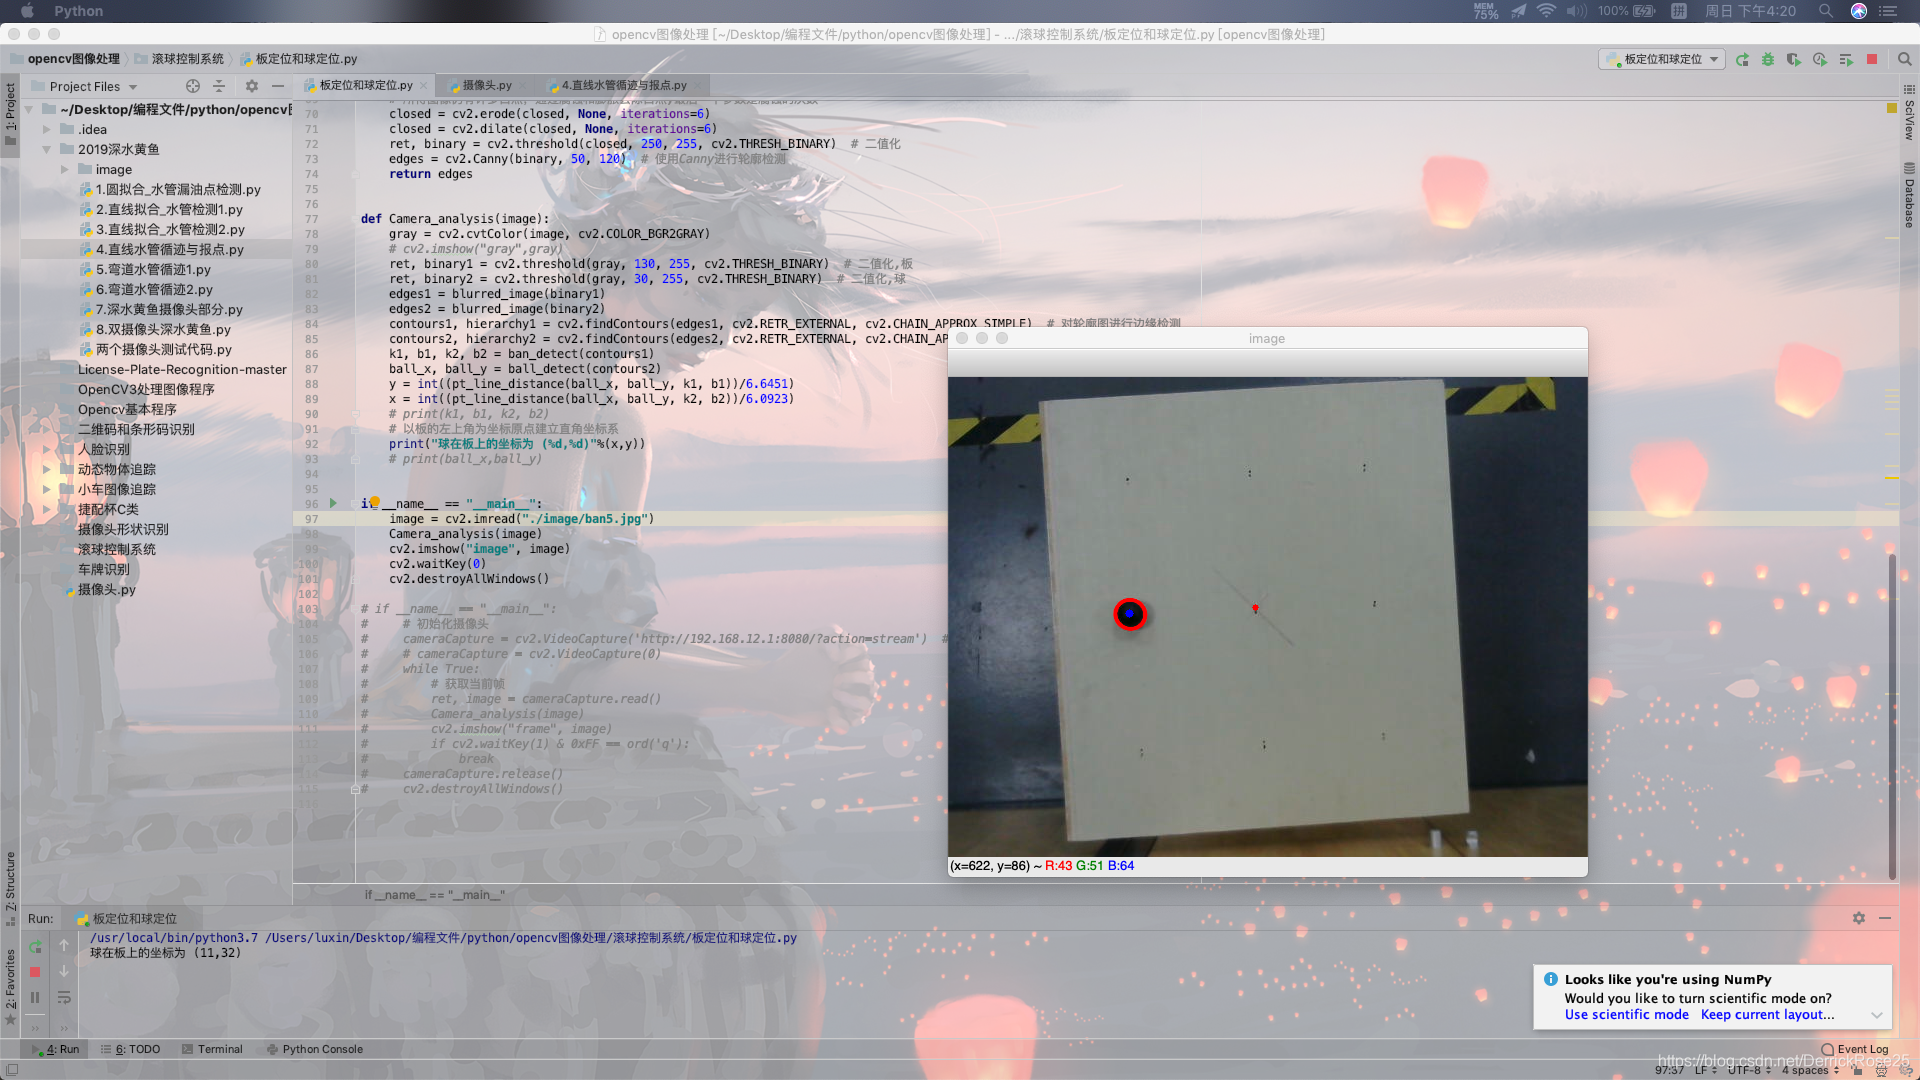
将代码移植到树莓派上即可使用
舵机PID控制代码及调试过程见本人博客:https://blog.csdn.net/DerrickRose25/article/details/97285392
所属网站分类: 技术文章 > 博客
作者:yoyo
链接:https://www.pythonheidong.com/blog/article/8293/8dbc2a3bcd78d72082d2/
来源:python黑洞网
任何形式的转载都请注明出处,如有侵权 一经发现 必将追究其法律责任
昵称:
评论内容:(最多支持255个字符)
---无人问津也好,技不如人也罢,你都要试着安静下来,去做自己该做的事,而不是让内心的烦躁、焦虑,坏掉你本来就不多的热情和定力